Sales Funnel for Online Courses Guide
Are you looking to sell your online course but struggling to attract potential customers?
Creating a sales funnel is the solution you need. By guiding potential customers through a series of steps, you can increase the likelihood of a sale. According to research by MarketingSherpa, businesses that use a sales funnel see a 55% increase in lead generation.
A sales funnel is a marketing strategy that guides potential customers through a series of steps to convert them into paying customers.
For online courses, this typically involves offering a free resource, such as an e-book or webinar, in exchange for the customer’s email address. From there, you can nurture the relationship with the customer through email marketing, offering additional resources, and eventually promoting your course.
Creating a sales funnel for your online course may seem overwhelming, but it doesn’t have to be. With the right strategy and tools, you can make a successful sales funnel that converts potential customers into paying customers.
In the following guide, I’ll walk you through creating a sales funnel for your online course.
What is an Online Course Sales Funnel?

An online course sales funnel is a marketing strategy that guides potential customers through a series of steps to convert them into paying customers for your online course.
It is a process that involves attracting potential customers, nurturing them with valuable information, building trust, and then prompting them to take action.
An online course sales funnel aims to make the buying process as smooth as possible for your potential customers. It is designed to provide them with the information they need at each stage so they can decide whether to buy your online course.
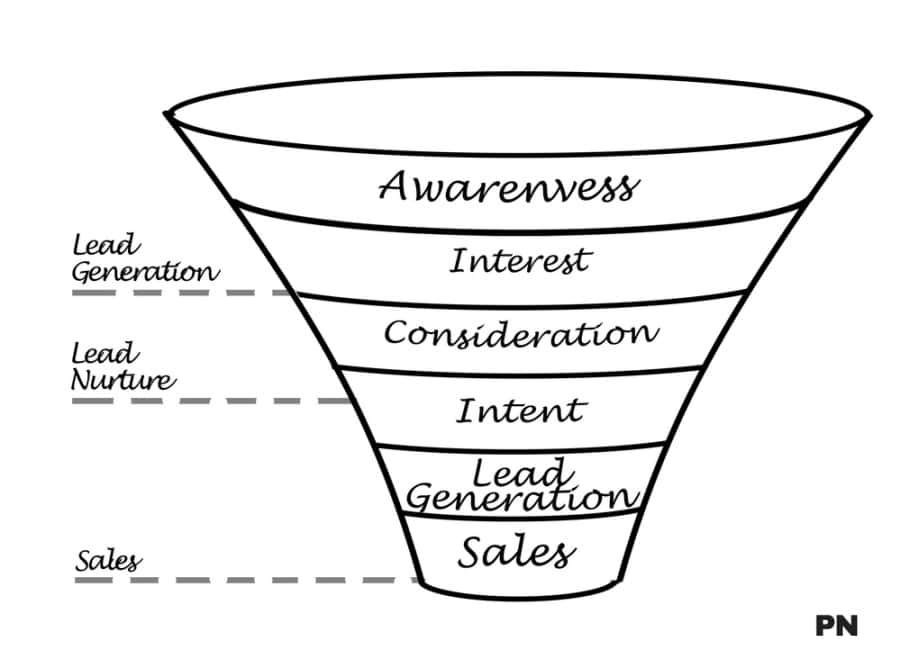
An online course sales funnel has several stages, each with its goals and strategies.
These stages include:
- Awareness: This is the stage where potential customers become aware of your online course. Your goal at this stage is to attract as many potential customers as possible and make them aware of your course’s benefits.
- Interest: At this stage, potential customers are interested in your online course. You should give them more information about it and build trust.
- Decision: This is the stage where potential customers decide whether or not to purchase your online course. You aim to make the buying process as easy as possible.
- Action: This is the final stage of the sales funnel, where potential customers take action and purchase your online course. Your goal is to provide them with a seamless and enjoyable buying experience.
By understanding each stage of the sales funnel and implementing the right strategies, you can increase your chances of converting potential customers into paying customers for your online course.
Why You Need an Online Course Sales Funnel?
If you’re selling online courses, you need a sales funnel. A sales funnel is a series of steps that guide potential customers toward purchasing your online course.
Here are some reasons why you need an online course sales funnel:
1. To Attract More Potential Customers
An online course sales funnel allows you to attract more potential customers to your website. By providing valuable content and resources, you can capture the attention of people interested in your topic.
With a sales funnel in place, you can guide these potential customers toward purchasing your online course.
2. To Build Trust with Your Audience
A sales funnel helps you build trust with your audience. By providing valuable content and resources, you can establish yourself as an expert in your field. When potential customers see you’re knowledgeable and helpful, they’ll be more likely to trust you and purchase your online course.
3. To Increase Your Sales
An online course sales funnel can help you increase your sales. You can convert more leads into paying customers by guiding potential customers toward purchasing your online course. With a well-designed sales funnel, you can maximize your revenue and grow your business.
4. To Save Time and Effort
Creating an online course sales funnel can save you time and effort in the long run. Once you have a sales funnel in place, you can automate many of the steps involved in the sales process. This means you can focus on creating more valuable content and growing your business rather than spending time on manual sales processes.
Stages of the Online Course Sales Funnel
When selling online courses, having a well-structured sales funnel is critical to transforming your course from an idea into a successful business.
A sales funnel is a series of steps potential customers go through to become paying customers.
This section will break down the different stages of the online course sales funnel.
The Awareness Stage (Top of the Funnel, TOFU)
The first stage of the sales funnel is the awareness stage. This is where potential customers become aware of your online course.
At this stage, it is important to create content that will attract potential customers to your website. This can include blog posts, social media content, and videos. The goal is to educate potential customers about your course and how it can help them.
The Consideration/Evaluation Stage (MOFU)
In the consideration/evaluation stage, potential customers evaluate your course and decide whether or not to purchase it.
At this stage, it’s essential to provide more detailed information about your course, such as testimonials from satisfied customers, course previews, and detailed descriptions of its content.
This will help potential customers make an informed decision about whether or not to purchase your course.
Purchase Stage (Bottom Of The Funnel)
The purchase stage is where potential customers become paying customers.
At this stage, making the purchasing process as easy as possible is essential. This can include offering multiple payment options, such as credit card and PayPal, and providing clear instructions on purchasing the course.
Post-Purchase Stage
After a customer has purchased your course, providing them with excellent customer service is essential. This can include sending a welcome email, providing access to the course materials, and answering any questions they may have.
Providing excellent customer service can help turn satisfied customers into repeat customers.
Repeat Purchase Stage
The final stage of the sales funnel is the repeat purchase stage, where satisfied customers become repeat customers. At this stage, it’s essential to continue providing excellent customer service and offering incentives for customers to purchase additional courses.
These can include discounts on future classes or exclusive access to new course materials.
The online course sales funnel can help you create a well-structured sales funnel that will attract potential customers and turn them into paying customers. You can turn satisfied customers into loyal customers who will continue to purchase your courses by providing excellent customer service and incentives for repeat purchases.
How Do I Create an Online Courses Sales Funnel?
Creating an online course sales funnel can be daunting, but it is essential to the success of your course. Following these steps, you can make a sales funnel that converts potential customers into paying students.
Step 1: Define Your Target Audience
The first step in creating an online course sales funnel is to define your target audience. Who are you trying to reach with your course? What are their pain points, and how can your course help them?
Understanding your target audience allows you to create content that speaks directly to their needs and interests. This will help attract potential customers who are more likely to be interested in your course.
Step 2: Create a Landing Page
A landing page is a web page designed specifically to convert visitors into leads or sales. Your landing page should be simple, visually appealing, and focused on the benefits of your course.
Include a clear call-to-action (CTA) on your landing page, such as “Enroll Now” or “Learn More.” This will encourage visitors to take the next step in your sales funnel.
Step 3: Offer a Lead Magnet
A lead magnet is something of value that you offer in exchange for a visitor’s contact information. It could be a free ebook, video, or webinar related to your course topic.
By offering a lead magnet, you can capture the contact information of potential customers and continue to market to them in the future.
Step 4: Nurture Your Leads
Once you have captured a visitor’s contact information, nurturing your leads with relevant content is essential. This could include a series of automated emails that provide additional value and build trust with your potential customers.
By nurturing your leads, you can move them closer to making a purchase and becoming a paying student.
Step 5: Make the Sale
The final step in your online course sales funnel is to make the sale. This could involve offering a limited-time discount, hosting a live webinar, or providing a free trial of your course.
Ensure your sales process is simple and you provide excellent customer support to your students.
Following these steps, you can create an online course sales funnel that attracts potential customers, nurtures leads, and converts visitors into paying students.
What is The Best Funnel Software for Online Courses?
When creating a sales funnel for your online course, you need software to help you build and optimize it quickly and easily. Several sales funnel software options are available, but ClickFunnels is the best choice for online course creators.
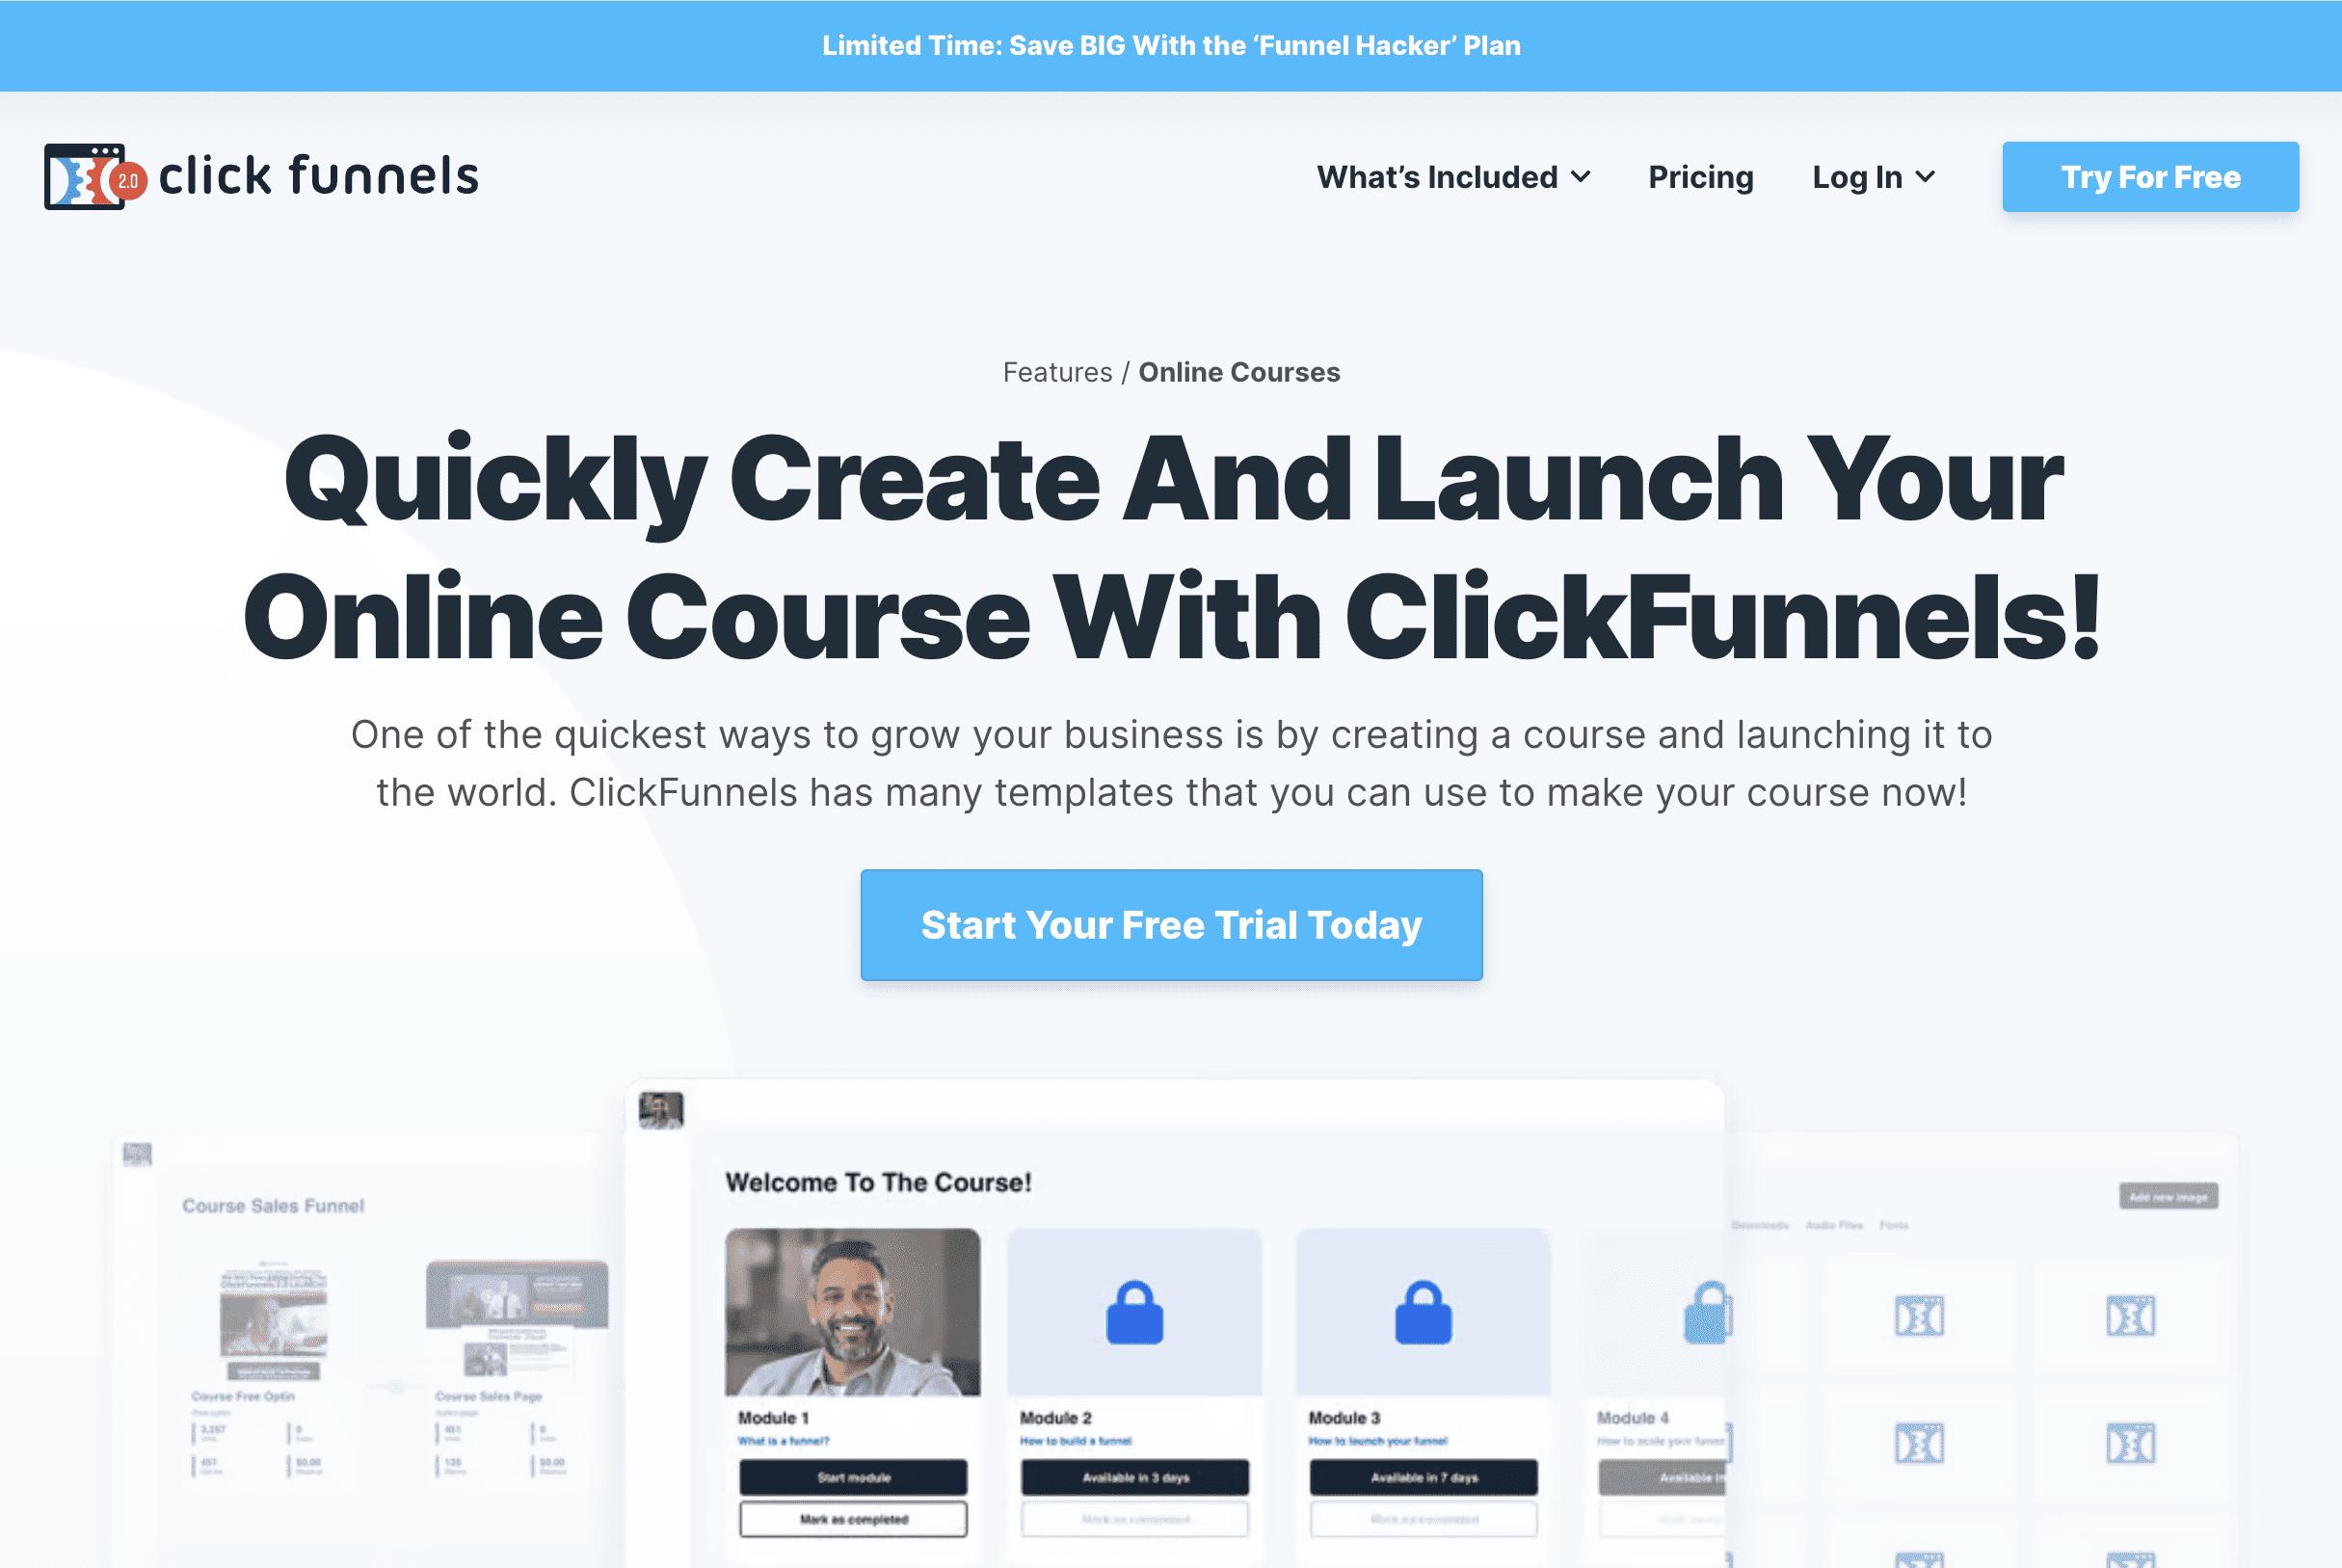
ClickFunnels is an all-in-one sales funnel software that offers a range of features to help you build, launch, and optimize your sales funnel.
With ClickFunnels, you can create high-converting landing pages, sales pages, order forms, and checkout pages, all with a simple drag-and-drop interface.
One of ClickFunnels’ critical benefits is its focus on upsells and downsells. These features allow you to offer your customers additional products or services after they purchase. This is a great way to increase your revenue and provide more value to your customers.
ClickFunnels also offers a range of complimentary funnel templates that you can use to get started quickly. These templates are designed to be high-converting and optimized for different types of products and services.
Another essential feature of ClickFunnels is its shopping cart and checkout functionality. This allows you to process payments and manage orders directly within the software, making it easy to sell your online course and manage your customers.
Frequently Asked Questions
What is a funnel in online courses business?
A funnel is a marketing strategy that guides potential customers through a series of steps toward a desired action, such as purchasing an online course. The goal of a funnel is to convert visitors into leads and then into paying customers.
What are the key stages in developing an online course sales funnel?
The critical stages of developing an online course sales funnel include attracting potential customers, nurturing leads, presenting your product, and closing the sale. Each stage requires a different approach and set of tactics to be effective.
How do you create an effective online course sales funnel?
To create an effective online course sales funnel, you must understand your target audience, create valuable content, build trust and credibility, and use lead magnets to capture contact information.
You should also use email marketing to nurture leads, provide value, and use retargeting ads to bring back potential customers who have shown interest in your course.
How can I optimize my online courses funnel for higher conversion rates?
To optimize your online courses funnel for higher conversion rates, you should test different elements, such as your lead magnets, email sequences, and sales copy.
It would be best to analyze your funnel metrics, such as conversion rates and cost per acquisition, to identify areas for improvement.
What metrics are crucial for analyzing the performance of an online course funnel?
Conversion rates, cost per acquisition, average order value, and customer lifetime value are crucial metrics for analyzing the performance of an online course funnel.
By tracking these metrics, you can identify areas for improvement and optimize your funnel for higher conversions and profitability.
How do industry benchmarks influence online courses’ conversion funnel performance?
Industry benchmarks can provide valuable insights into the performance of your online course conversion funnel.
By comparing your metrics to industry averages, you can identify areas for improvement and set realistic goals for your funnel performance.
However, it’s essential to remember that every business and funnel is unique, and industry benchmarks should be used as a starting point rather than a definitive guide.
Wrapping Up
In conclusion, creating a sales funnel for your online course can significantly increase your course sales.
By following the steps outlined in this guide, you can make a successful sales funnel that will help you attract potential customers, engage them with your content, and ultimately convert them into paying students.
When creating your sales funnel, consider your target audience and tailor your messaging and content to their needs and interests. Utilize email marketing and social media tools to reach a wider audience and keep them engaged throughout the sales process.
Remember to continually monitor and optimize your sales funnel to ensure that it effectively converts leads into sales. With persistence and dedication, you can create a sales funnel to help you achieve your online course sales goals.
So start creating your sales funnel today, and watch your course sales soar!
Disclosure: We may earn commissions if you buy via links on our website. Commissions don’t affect our opinions or evaluations. We’re also an independent affiliate of many platforms, including ClickFunnels, Kartra, GoHighLevel, Podia, Northwest Registered Agent, and others. We’re not employees of these services. We receive referral payments from them, and the opinions expressed here are our own and are not official statements of these companies.